This project shows a number of different .NET clients applications communicating with ServiceStack back-end services using the Sync, Task-based Async and C# async/await APIs, available in ServiceStack's typed .NET clients.
This project contains example applications on the following platforms:
- Xamarin.iOS
- Xamarin.Android
- Windows Store
- WPF app using .NET 4.5 PCL support
- Silverlight 5
Most clients make use of ServiceStack's new PCL support which are contained in the following NuGet packages:
- ServiceStack.Interfaces
- PCL Profiles: iOS, Android, Windows8, .NET 4.0, Silverlight5, WP8 (Profile136)
- ServiceStack.Client
- PCL Profiles: iOS, Android, Windows8, .NET 4.5 (Profile7)
- Custom builds: NET40, Silverlight 5
- ServiceStack.Text
- PCL Profiles: iOS, Android, Windows8, .NET 4.5 (Profile7)
- Custom builds: NET40, Silverlight 5
Your DTO projects only need to reference ServiceStack.Interfaces package whilst the Service Clients are contained within the ServiceStack.Client NuGet package:
PM> Install-Package ServiceStack.Client
Alternatively you can instead use JsonHttpClient from:
PM> Install-Package ServiceStack.HttpClient
Which as it's based on Microsoft's new async HttpClient can be configured to be used with ModernHttpClient which provides a thin wrapper around iOS's native NSURLSession or OkHttp client on Android, offering improved performance and stability for mobile connectivity.
Configure all JsonHttpClient instances to use ModernHttpClient's NativeMessageHandler with:
JsonHttpClient.GlobalHttpMessageHandlerFactory = () => new NativeMessageHandler()We get great re-use thanks to ServiceStack's design of having most providers implementing interfaces, which combined with DTO's having minimal dependencies, only a reference to ServiceStack.Interfaces is required to share any higher-level functionality that consumes ServiceStack services across most platforms.
A greater level of binary-level reusability is enabled between iOS, Android, Windows8, .NET 4.5 platforms which are also able to share concrete implementations in (Profile7) portable class libraries.
Other supported platforms may still achieve source-level code-reuse with VS.NET's shared projects support or by creating a stub project (compiled for their platform) and linking to the existing source files.
All client examples below expect to connect a ServiceStack service instance hosted on http://localhost:81.
Also included in the repo is an ASP.NET and HttpListener simple ServiceStack Hosts, both with CORS enabled (required for Silverlight clients).
The easiest way to start a ServiceStack host is to build the Server.HttpListener project, then double-click on the resulting Server.HttpListener.exe binary, or for OSX/Linux using mono:
sudo mono Server.HttpListener.exe
Check that it's up and running by going to: http://localhost:81 in a web browser.
Follow this guide to Add NuGet Package Manager to Xamarin Studio so you can easily reference NuGet packages inside Xamarin Studio.
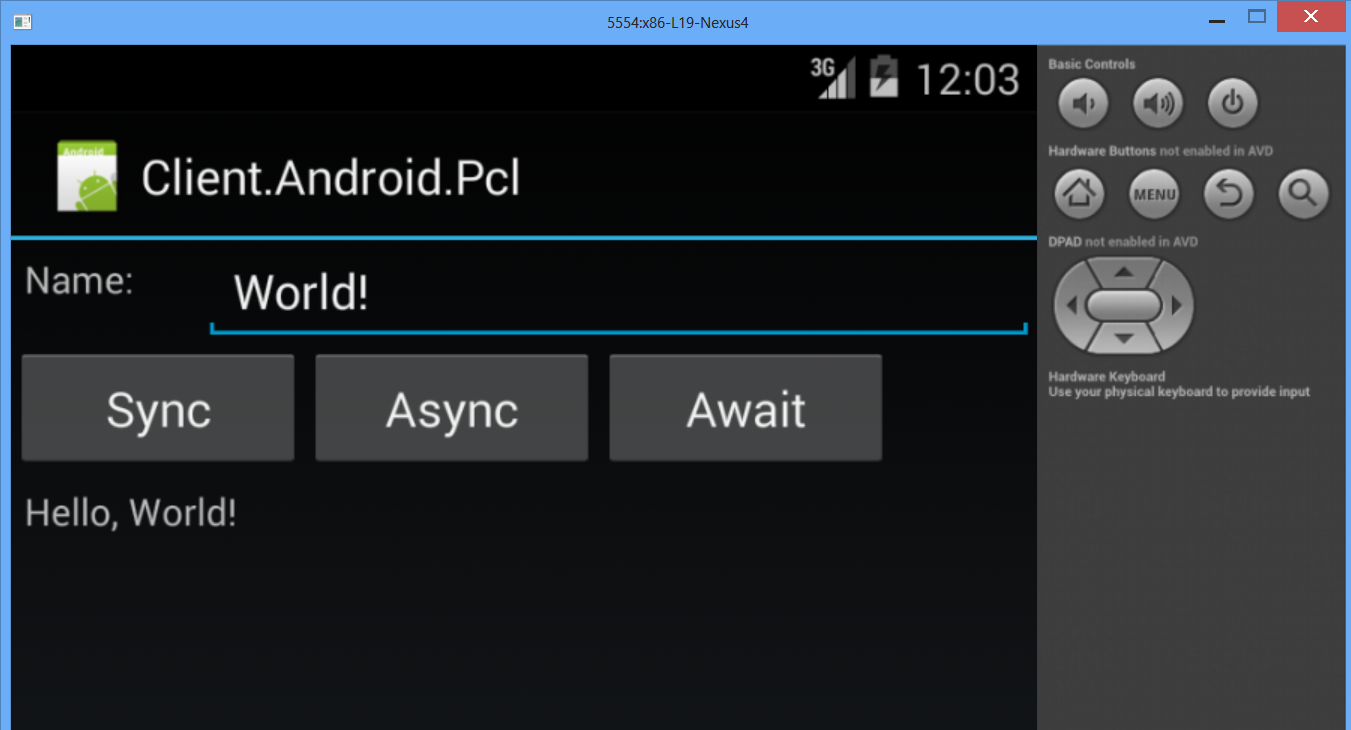
The Android example is contained in the Client.Android.Pcl project.
Xamarin.Android makes creating Android applications with C# pretty trivial where you can visually design the UI from within VS.NET using the in-built visual designer. The worst part about developing for Android is the very slow turn around times when running your application through the Android emulators. For this reason I recommend configuring and doing most of your development with the much faster x86 Emulator.
Xamarin's Getting Started tutorial provides a great walkthrough and overview of the concepts required in creating a simple Android app.
To create our simple Hello World example, it as just a matter of:
- Creating a new Android Application project
- Double-clicking
Resources\Layout\Main.axmlto bring up the visual designer - Dragging the Label (TextView), TextBox (EditText) and Button Widgets onto the canvas to create the UI
- Providing an id for each widget, e.g in the format
@+id/txtName
After building the project the id's are materialized into C# constants, available in the Resource.Id.* nested classes which you can use
in the custom Activity.OnCreate() method in your Activity1.cs
to access the UI controls, e.g:
var btnSync = FindViewById<Button>(Resource.Id.btnSync);
var btnAsync = FindViewById<Button>(Resource.Id.btnAsync);
var btnAwait = FindViewById<Button>(Resource.Id.btnAwait);
var txtName = FindViewById<EditText>(Resource.Id.txtName);
var lblResults = FindViewById<TextView>(Resource.Id.lblResults);
With references to the controls you can begin to hook up custom handlers to the exposed C# events.
For our example we're just going to explore the different call-styles available for consuming ServiceStack web services.
To do this we just need create an instance of a JsonServiceClient and give it the base url where ServiceStack is hosted:
var client = new JsonServiceClient("http://10.0.2.2:81/");As the Android emulator is considered to be running on a different device, to refer to the loopback IP (127.0.0.1) on our local development machine we need to use the special 10.0.2.2 alias. Other special device IP's can be found in Andorid's documentation.
From then on calling ServiceStack services is the same as any other C# Client, E.g. you can call the Sync APIs with:
btnSync.Click += delegate {
    try {
        var response = client.Get(new Hello { Name = txtName.Text });
        lblResults.Text = response.Result;
    }
    catch (Exception ex) {
        lblResults.Text = ex.ToString();
    }
};
This registers a click handler on the 'Sync' button that uses the JsonServiceClient to make a synchronous call to the Hello ServiceStack WebService. The returned typed 'HelloResponse' response can be directly assigned to the lblResults UI widget.
Commonly you should prefer making asynchronous network calls to keep the UI responsive whilst waiting for the response.
Thanks to C#'s async/await feature converting to async is trivial which just involves adding the async keyword modifier to the delegate signature
and then awaiting the GetAsync method on the Service Client, e.g:
btnAwait.Click += async delegate {
    try {
        var response = await client.GetAsync(new Hello { Name = txtName.Text });
        lblResults.Text = response.Result;
    }
    catch (Exception ex) {
        lblResults.Text = ex.ToString();
    }
};Some compiler magic is used to make the above async code work which has the disadvantage that the async keyword needs to propagated up in all call-sites.
Given this you may prefer instead to make async calls with the Promise-like call-style API also available on the returned Task<T> response.
We've added some custom task extensions to make this as easy as:
btnAsync.Click += delegate {
    client.GetAsync(new Hello { Name = txtName.Text })
        .Success(response => lblResults.Text = response.Result)
        .Error(ex => lblResults.Text = ex.ToString());
};
The Success extension method unwraps the response for successful calls whilst the Error extension method unwraps single exceptions from any thrown
AggregateException, otherwise it passes it through untouched.
As of this writing there was an issue with trying to build Android on Windows due to a missing System.IO.Compression.dll dll in the windows installer. A temporary solution was published on Xamarin's Forums:
- Download the missing dls
- Copy them to:
C:\Program Files (x86)\Reference Assemblies\Microsoft\Framework\MonoAndroid\v1.0\
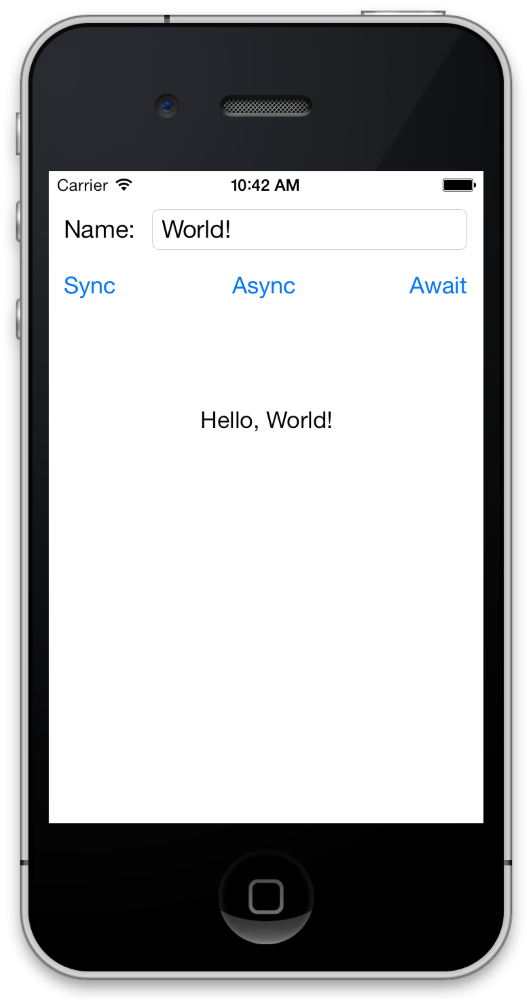
The iOS Client is the only project in this solution not created with VS.NET. You can open the iOS project in Xamarin Studio by opening the Hello.Xamarin.sln.
Whilst it's possible to develop iOS Apps in VS.NET, it requires a configured build server running on OSX for it to work.
As OSX is always required and it has less moving parts, I recommend developing iOS Apps with Xamarin Studio on OSX which has the advantage of being able to use XCode's native Interface Builder to design your UI.
If this is the first time using Xamarin Studio then you'd want to first install the NuGet Addin for MonoDevelop which will allow you to add NuGet packages to your project as you're used to within VS.NET. From there just search and add the ServiceStack.Client.Pcl NuGet package to your iOS project.
As they have with Android, Xamarin have a good getting started with Xamarin.iOS tutorial which goes through a simple example of creating an iOS App.
To create our simple Hello World app:
- Create a new iPhone Single View Application project
- Double-click on the file ending
*ViewController.xibto open it in XCode's Interface Builder - Drag the Label, TextBox and Button Widgets onto the iPhone canvas to create the UI
- Open Interface builder in split screen mode to view the UI and the
*.hfile side-by-side - Ctrl + click TextBox UI and Results Label UI elements onto the top of Obj-c
*.hfile to create new Outlets - Ctrl + click each UI Button and drag it into the middle of the Obj-c
*.hfile to create new Actions
After hooking up each UI Widget, save the file and switch back to Xamarin Studio to see each element available in the code-behind ViewController.designer.cs file. Any Outlets defined are exposed as properties whilst any Actions are available as partial methods.
With all elements and actions in place you can start add your C# implementation in your main *ViewController.cs file.
The first line of code is to register the PCL Provider for iOS, normally this is automatically inferred but as it sometimes doesn't get picked up for iOS, it's recommended to explicitly register it with:
IosPclExportClient.Configure();Calling the service is similar to Android where instead of using localhost you need to use an IP Address for your local dev machine where ServiceStack is running.
You can use the ifconfig command line utility in OSX to find out what the network IP of your dev workstation is, e.g 10.0.0.8:
client = new JsonServiceClient("http://10.0.0.8:81/");The IB Outlets are automatically populated into their typed properties whilst actions are handled by implementing their partial method signatures which are declared in the ViewController's code-behind generated file. Other than that, the implementation itself is similar to the other clients, i.e:
partial void btnSync_Click (NSObject sender)
{
    try {
        var response = client.Get(new Hello { Name = txtName.Text });
        lblResults.Text = response.Result;
    }
    catch (Exception ex) {
        lblResults.Text = ex.ToString();
    }
}
As you can't change the signature of partial methods, to take advantage of C#'s async/await feature you'll need to delegate it into a new method that you can apply the async modifier to, e.g:
partial void btnAwait_Click (NSObject sender)
{
    AwaitClick();
}

private async void AwaitClick()
{
    try {
        var response = await client.GetAsync(new Hello { Name = txtName.Text });
        lblResults.Text = response.Result;
    }
    catch (Exception ex) {
        lblResults.Text = ex.ToString();
    }
}
Whilst calling the Task-based API remains just as straight-forward:
partial void btnAsync_Click (NSObject sender)
{
    client.GetAsync(new Hello { Name = txtName.Text })
        .Success(response => lblResults.Text = response.Result)
        .Error(ex => lblResults.Text = ex.ToString());
}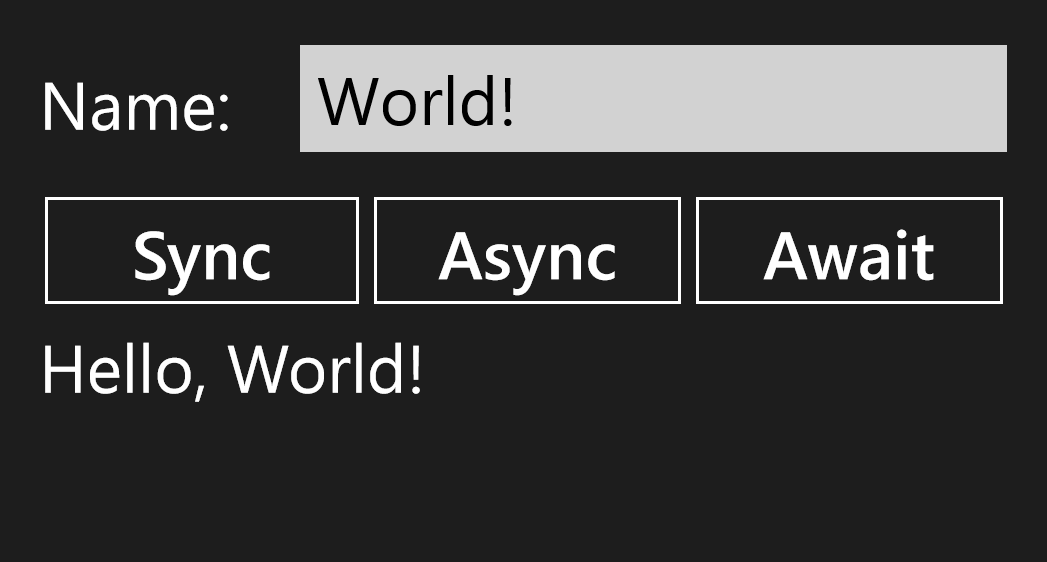
If you've done any previous XAML development, Visual Studio provides a great Development experience for Windows 8 with fast iteration times and a great debugging experience. The one annoyance is a result of Windows Apps taking up the entire screen making it tedious to switch between the running app and debugging environment.
Other than that, developing apps is as straight forward as it can be, just double click the MainPage.xaml file to open it in the designer where you can drag on UI Elements to create the UI.
Like most VS.NET visual designers you can simply double-click a button to add an event handler. To access controls in the code-behind file you just need to assign each a name in either the
property grid or by directly editing the XAML source.
Unlike debugging Android and iOS devices, Windows Store Apps lets you use localhost to reference your local dev workstation that you can use to refer to your running ServiceStack instance, e.g:
client = new JsonServiceClient("http://localhost:81/");Implementing a click event is just a matter of double-clicking the UI Button and filling in the blank with your implementation, which remains the same for the Synchronous API:
private void btnSync_Click(object sender, RoutedEventArgs e)
{
    try
    {
        var response = client.Get(new Hello { Name = txtName.Text });
        lblResults.Text = response.Result;
    }
    catch (Exception ex)
    {
        lblResults.Text = ex.ToString();
    }
}
The Async/Await code is easier than iOS as you can add the async modifier directly on the click event signature:
private async void btnAwait_Click(object sender, RoutedEventArgs e)
{
    try {
        var response = await client.GetAsync(new Hello { Name = txtName.Text });
        lblResults.Text = response.Result;
    }
    catch (Exception ex) {
        lblResults.Text = ex.ToString();
    }
}
The Task-based example is also implemented as expected:
private void btnAsync_Click(object sender, RoutedEventArgs e)
{
    client.GetAsync(new Hello { Name = txtName.Text })
        .Success(r => lblResults.Text = r.Result)
        .Error(ex => lblResults.Text = ex.ToString());
}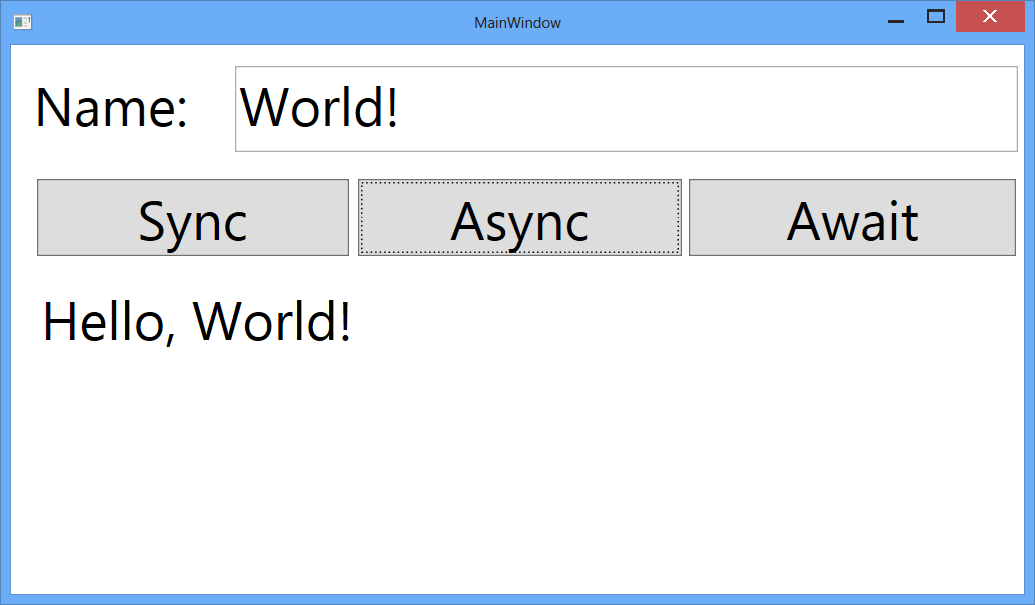
The WPF development experience is very similar to the Windows Store app, where even the source code for declaring and implementing the button event handlers is exactly the same. The only difference is that the Main window is called MainWindow.xaml instead of MainPage.xaml.

The Silverlight project is different to the other clients in a couple of ways, firstly whilst it references the same NuGet packages, it makes use of Silverlight-specific ServiceStack.Text.dll and ServiceStack.Client.dll builds which aren't binary compatible with the other client platforms, so any high-level projects that use these impl dlls can't be shared with other PCL projects.
Another difference when creating a new Silverlight Application is that it also creates a separate
Client.Sl5.Web web deployment project where the compiled Client.Sl5.xap Silverlight deployment package gets hosted from. As this package is executed within the context of a web browser it must also comply with browser limitations like CORS limitations. To enable communication with our remote ServiceStack instance, the CorsFeature Plugin and clientaccesspolicy.xml and crossdomain.xml permissions were added to the ServiceStack hosts.
A limitation in Silverlgiht is that only Asynchronous API's are supported, but like the previous XAML-based Windows Store and WPF clients, the source code remains exactly the same:
private async void btnAwait_Click(object sender, RoutedEventArgs e)
{
    try {
        var response = await client.GetAsync(new Hello { Name = txtName.Text });
        lblResults.Content = response.Result;
    }
    catch (Exception ex) {
        lblResults.Content = ex.ToString();
    }
}
private void btnAsync_Click(object sender, RoutedEventArgs e)
{
client.GetAsync(new Hello { Name = txtName.Text })
.Success(r => lblResults.Content = r.Result)
.Error(ex => lblResults.Content = ex.ToString());
}