Use Kodi python APIs in C#, and write rich addons using the .NET framework
- Make a copy of this repository and rename the TestPlugin project to fit your needs. You can keep the project to have references/dependencies already set-up.
- Edit the addon names in addon.xml and default.py aswell
- Build the solution, then copy addon.xml, default.py and the compiled assemblies under <kodi>/addons/<youraddon>
- Launch Kodi and go to the add-on list. You should see the new add-on with a disabled state. Enable it
- Events support (xbmc.Monitor)
- Python interfaces
- Code eval
- Variable management
- Value escaping
- Function calls
- Python console logging
- C# Bindings of Kodi modules (xbmc, xbmcgui, ...)
- URL Routing (handlers for different sections of the plugin)
- Support for Service addons (executed in background, as defined in addon.xml)
- Static variables persisting across script invocations (made possible by the .NET CLR that persists in the Kodi process). You can keep variables in a static class instance without having to pass them around
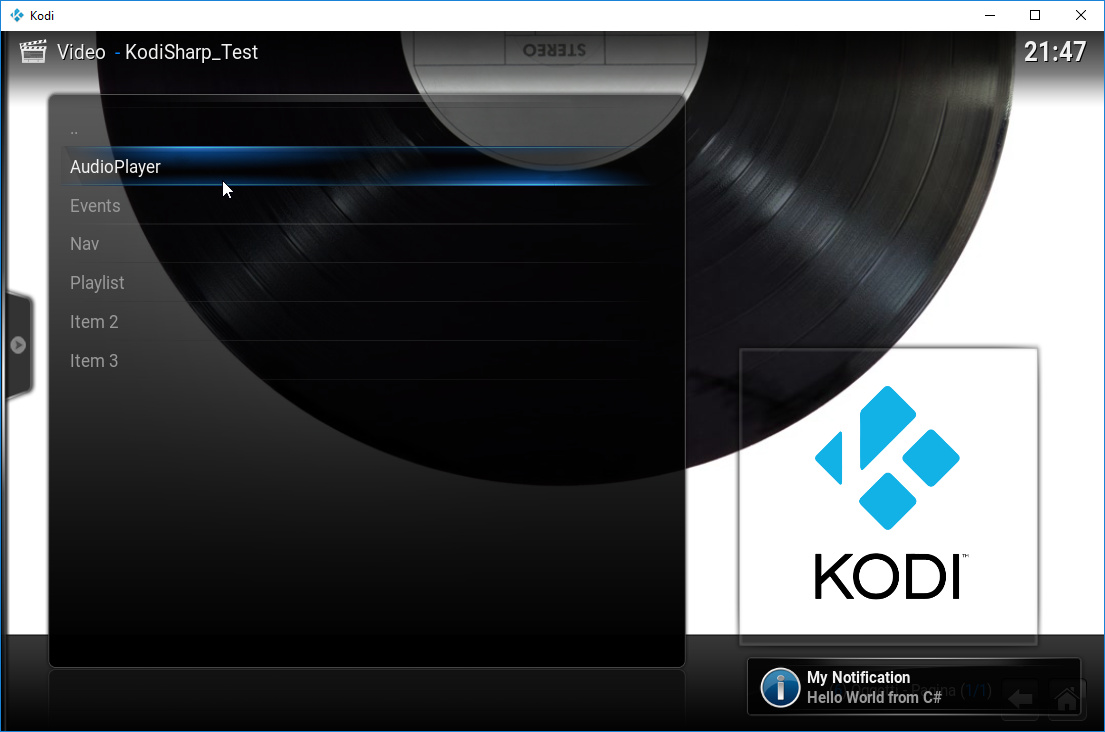
You can load the TestPlugin project for a working sample.
On Windows you can also try the SpeechRecognizerPlugin project, which is an example of speech recognition inside a Kodi Addon
First of all, target kodi.exe as the process we want to debug
- Right click on the plugin project
- Properties
- Debug
- Start external program -> Browse for Kodi.exe
Next, to debug the C# code under visual studio, change this line in default.py
Initialize(MessageCallbackFunc, False)to
Initialize(MessageCallbackFunc, True)The last argument to Initialize indicates whether the debugger should be launched.
Next time you run the plugin, a debugger selection window should pop up.
You should then see a breakpoint on
Debugger.Launch()and you can continue with the normal plugin execution
Navigate to "%appdata%\Kodi\userdata" Create a file called "autoexec.py" and insert the following code to start your plugin when kodi starts
import xbmc
xbmc.executebuiltin("RunAddon(plugin.video.test)")
Replace "plugin.video.test" with the plugin name you used in addon.xml
This method also avoids having to select the debugger every time
- The project must target either x86 or x64 for UnmanagedExports to generate the proper code (NOT AnyCpu). If you use the wrong architecture type you may have issues like "[your plugin] is not a valid win 32 application". On windows, kodi builds are generally x86.
- If you want to make a new project from scratch, make sure to:
- Clone this repo to your new addon solution
- Add the KodiInterop shared project to the solution
- Add a reference to the KodiInterop project to your Addon project
- Install the nuget packages "Newtonsoft.Json" and "UnmanagedExports"
- Copy default.py and addon.xml to your new addon folder, then add them to your solution as link. Edit them accordingly to change the DLL path and the addon name/author
- Remove UnmanagedExports
- Add infrastructure to handle plugin loading/unloading in separate assembly domains
- Implement remaining builtins
- Implement remaining modules functionality (xbmc, xbmcgui, ...)
- Implement a JSON interface (via executeJSONRPC)